
Introduction
Back again with a small vacation project!
Since I just learned to play most parts of the song Stinkfist and recorded it in one of my sessions, I wanted to accompany that with a short animation in true TOOL fashion. This was a quick effect I threw together but I thought it would be fun just to cover some of the highlights in the process.
Process
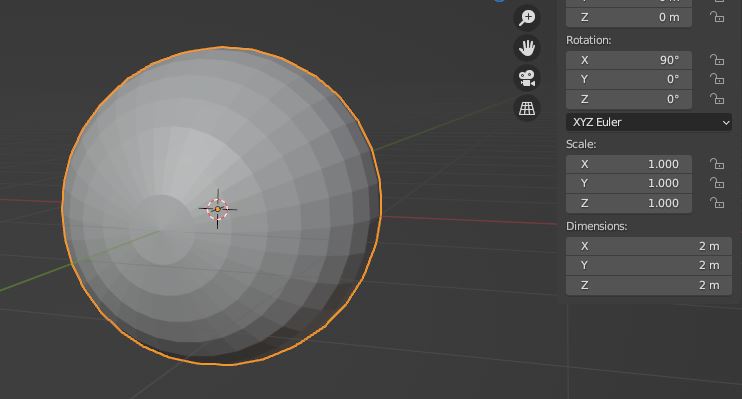
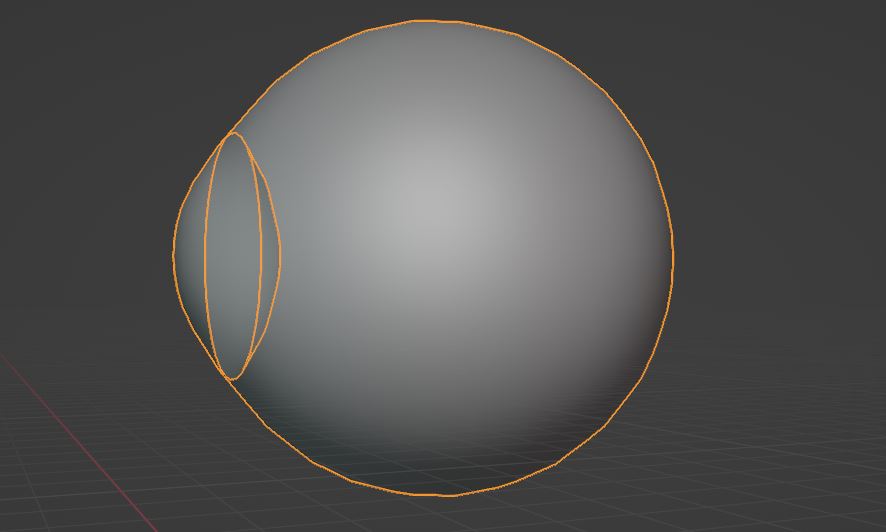
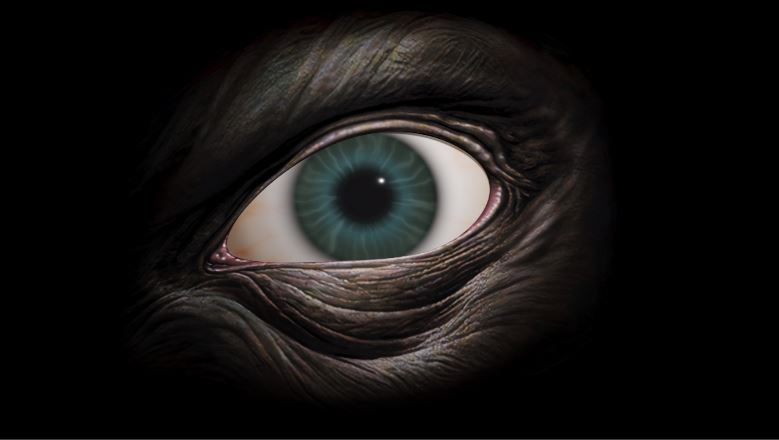
The UV sphere is a good starting mesh but we have to remember that eyes aren’t perfectly round so we need to take that into account. The edges at the pole create rendering artifacts as well, so I remove its geometry and insert another sphere to use as reference when I’m scaling a subdivided surface onto the opening of the eye. Then the backfaces inside of that reference sphere can be be positioned appropriately to function as the iris.
Making procedural eyes in Blender relies heavily on the usage of spherical gradient maps, in which you create masks to form the iris and its various color gradients. The masks are also used to turn off any other effects that overlap with the iris, such as blood vessels which can be created using Voronoi texture nodes.
https://docs.blender.org/manual/en/latest/render/shader_nodes/textures/voronoi.html
Just to give you an idea of the underlying shader pipeline, this is what it will look like for most of the time. Lots of masks stacked on top of each other and mixed to combine various effects.
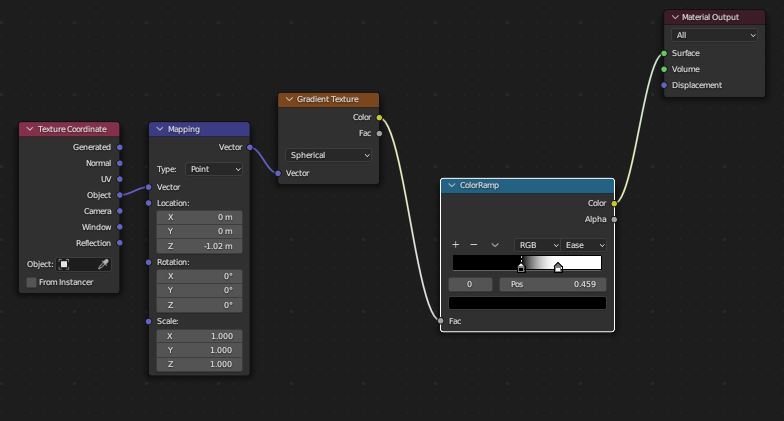
Note that in order to actually be able to make it transparent, we have to enable screen space refractions in the material properties or otherwise this approach won’t work.
From here on, I start modelling an eye socket using the reference image and make sure I’ll capture the general shape of the grooves since they are an important detail.

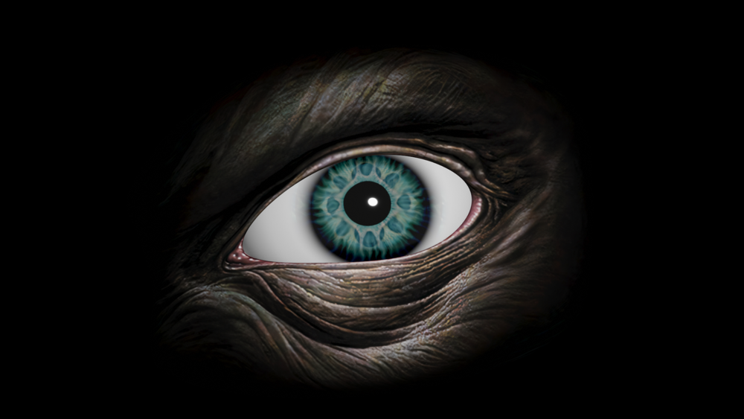
I let Blender solve the UV-mapping for me and I barely had to make any adjustment to the automatic unwrap, this is a nice thing with open meshes that are only viewed from one direction. With the model for the eye socket ready, I’m going to project the original image onto the mesh to get my final texture. Here I’m also starting to make use of the Voronoi Texture to simulate the pigmented layer at the front of our eyes.
On top of this, I also mix in some of the original iris from the painting.
To give the eye a bit more life, I’m going to insert a small amount of morphing on the eyelids using a shape key.
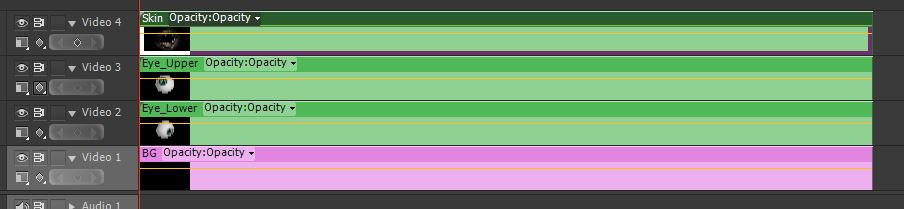
In order to overlap the eyes with as little visual artifacts as possible, I essentially split up each mesh into its separate rendering layer and made a composition of them later in Adobe Premiere.
I settled for a gentle swaying pattern for the camera to make it a bit more haunting and a bit of noise to set the mood, it also helped to blur out the edges of the mesh.
Summary
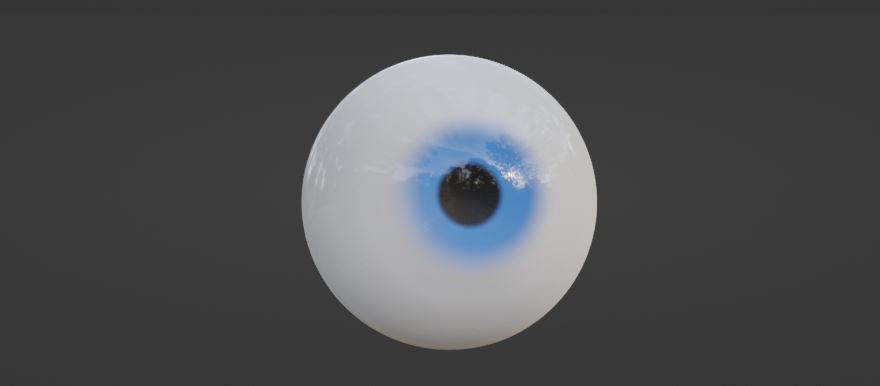
Below you can see the rendered sequence that I used for my Stinkfist cover, I don’t know about my guitar techniques but I had a lot of fun doing this. I’m thinking about turning this into a series and make a new effect for each TOOL song I learn but that’s yet to come.
